| 1. | Click the Control view tab. |

| 2. | Select utils from the categories drop-down menu. |

| 3. | Select the Label control and drag it into the Page view panel. |
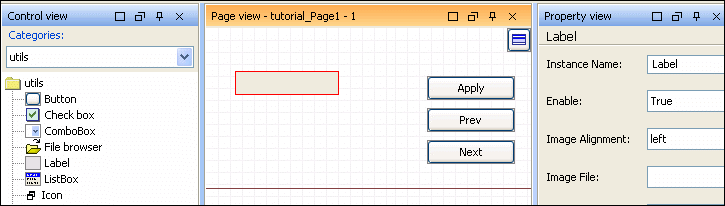
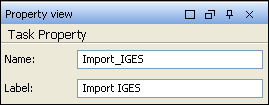
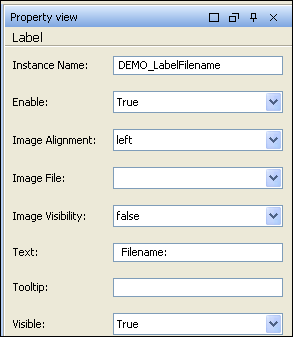
| 4. | In the Property view panel, set the following: |
Instance Name: DEMO_LabelFilename
Text: Filename:
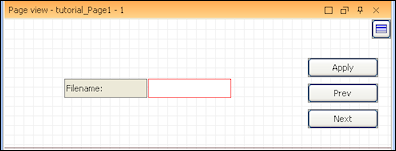
| 5. | Highlight and drag the Text field control, from the Control view, into the Page view panel and place beside the label. |
| 6. | In the Property view, set Instance Name to DEMO_TextFilename. |

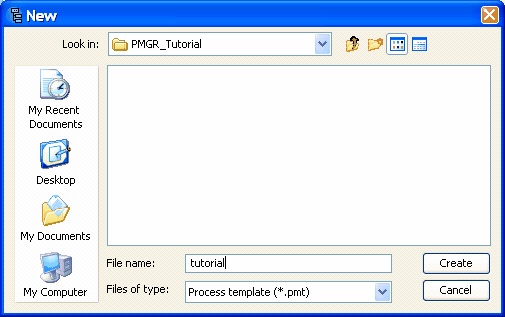
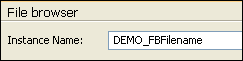
| 7. | Highlight and drag the File browser control into the Page view panel. |
| 8. | Set Instance Name to DEMO_FBFilename. |
| 9. | Click the File Filter in the Property view panel. |
| 10. | Click Add, and type "iges" in the Extension column. |

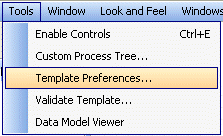
| 12. | Click Script located next to the OnClicked property. |

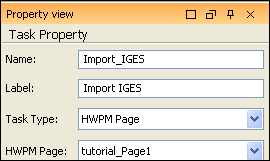
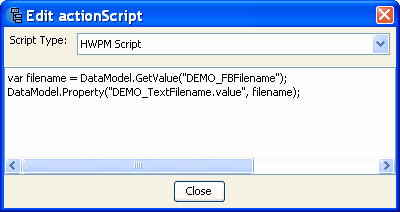
| 13. | Set the Script Type to HWPM Script from the drop down menu. |
| 14. | Type the following HWPM script as the callback to: |
var filename = DataModel.GetValue("DEMO_FBFilename");
DataModel.Property("DEMO_TextFilename.value", filename);
| 16. | Select the Apply button in the Page view panel and change Text to Import. |

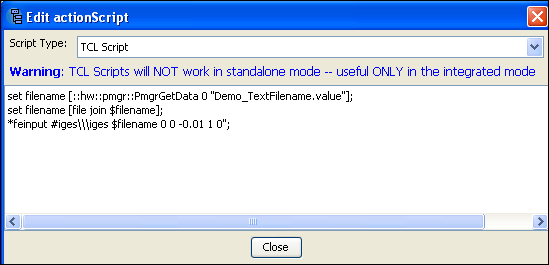
| 17. | Click Script located next to the OnClicked property. |

| 18. | Select TCL Script from the drop down menu and type in the following script: |
set filename [::hw::pmgr::PmgrGetData 0 "DEMO_TextFilename.value"];
set filename [file join $filename];
*feinput #iges\\\iges $filename 0 0 -0.01 1 0";
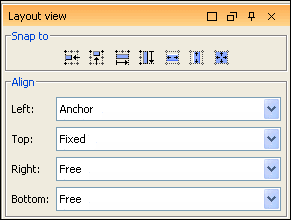
| 20. | Click the Layout tab. You may need to dock the tab using the pushpin icon. |
| 21. | Experiment with the different layout settings. For example, try setting the following on for the added controls: |
Left: Anchor
Top: Fixed
Right: Free
Bottom: Free
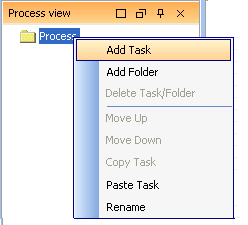
| 22. | Create a new page using the Add Page  icon. icon. |
| 23. | Select Control view and drag the Label control on the new page. Set the following: |
Instance Name: DEMO_LabelMeshSize
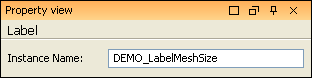
Text: Mesh Size.

| 24. | Highlight and drag a Text field control beside the label. Set the following: |
Instance Name: DEMO_TextMeshSize.
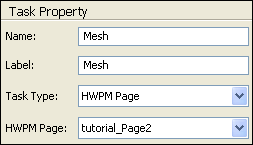
| 25. | Click Apply and change Text to Mesh. |
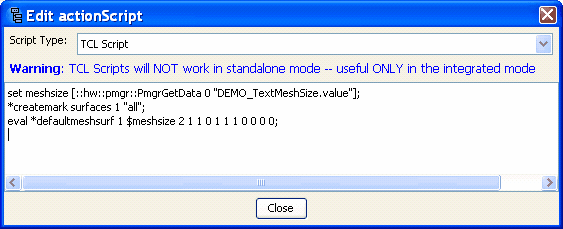
| 26. | Write the following TCL script as the callback to the OnClicked: property of the Apply button: |
set meshsize [::hw::pmgr::PmgrGetData 0 "DEMO_TextMeshSize.value"];
*createmark surfaces 1 "all";
eval *defaultmeshsurf 1 $meshsize 2 1 1 0 1 1 1 0 0 0 0;
27. Click Close.
|