In HyperXtrude, you can edit the DV data. Turn on the Edit DV Tag to proceed to the Bearing Optimization page.
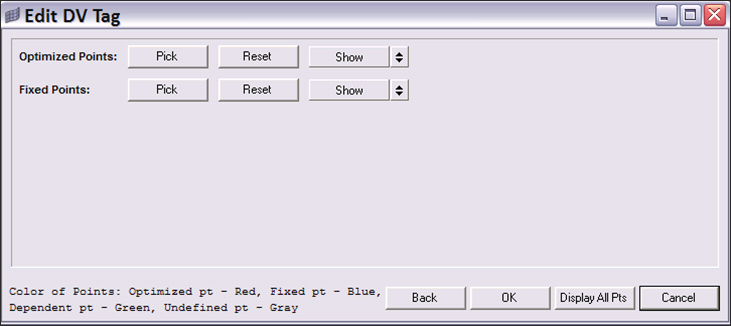
Optimized Points:
| • | Click Pick to select the optimized control points. |
| • | Reset will clear the selections |
| • | Show/Hide turns on/off optimized points |
Fixed Points:
| • | Click Pick to select the fixed points |
| • | Reset will clear the selections |
| • | Show/Hide turns on/off fixed points |
Dependent Points Table:
| • | Selected optimized points will be populated in the table. For each optimized point, pick the dependent points. |
| • | Click Pick to select dependent points for the optimized point. If points are selected, the Pick button will be highlighted in green. |
| • | Reset will clear the selections of dependent points that are dependent on the respective optimized point. |
| • | Show/Hide turns on/off dependent points dependent on respective optimized point. |
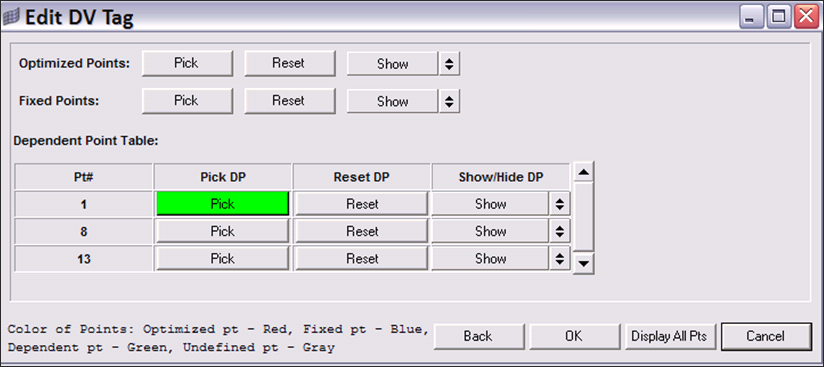
| • | Back will take you to the previous page. |
| • | Click Display All Pts to view all the selected points. |
| • | Click OK to complete the bearing profile. |
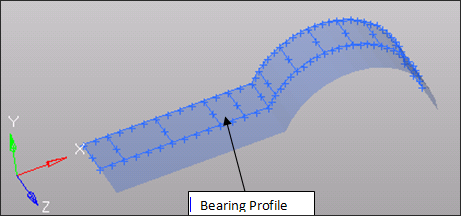
HyperMesh interpolates the bearing length at nodes in between two control points and displays the bearing profile on the screen. This profile is used in the calculations.