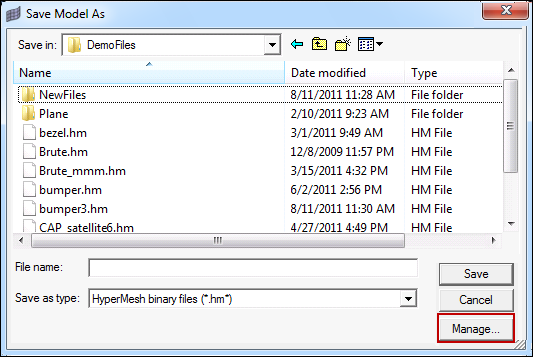
The Manage button is an extension of the out-of-the-box HyperWorks file dialogs. It can be found on file dialogs such as File > Save and File > Export. It is analogous to the Explore dialog, which is used to search for files at open and import. The Manage button allows you to directly save or check in contents and files to libraries, without the need to save the file first and then publish it to a library separately.
To publish contents using the Manage button:
| 1. | Click Manage on the dialog. The Organize dialog displays, as shown below. |
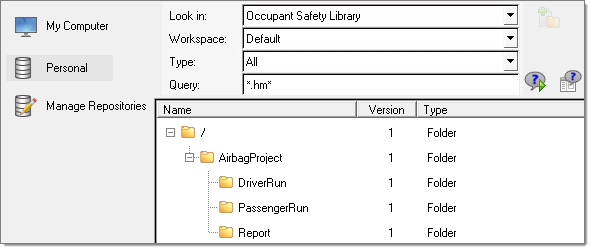
| 2. | Select the desired repository (My Computer or Personal). |
| 3. | Select the desired library from the Look in field. |
| 4. | Select the desired Workspace (if a managed library is selected). |
| 5. | Use the Type or Query fields to help you view existing contents or structure in the library. |
| 6. | Choose the desired folder for the content/file to be saved. |
| 8. | (Optional) Check Parse Document. If Parse Document is checked, the file being added to the library will be parsed by the appropriate parser and metadata will be extracted and added to the newly created content. |
| 9. | (Optional) Check Display Preview before Checkin. If Display Preview before Checkin is checked, the appropriate new content dialog will be displayed so information can be reviewed before being saved to the library. |
| 10. | Click Check In. The new content is published to the selected library in the selected location. Contents that already exist in libraries can be updated by following the same process as outlined above when using File > Save, File > Save As, and File > Export options. |
See Also:
Explore dialog


