|
RBODY Manager |

|

|

|

|
|
|
RBODY Manager |

|

|

|

|
RBODY Manager
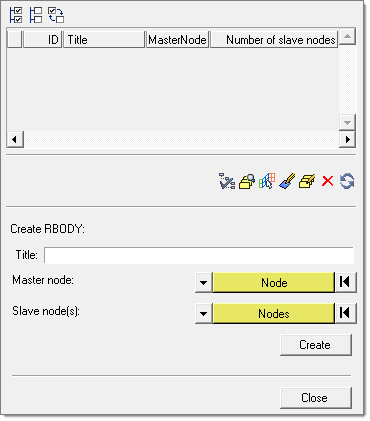
The RBODY Manager is accessible in the RADIOSS Utility menu. The RBODY Manager provides the following features in one convenient tab:
| • | Display all rigid bodies in the model |
| • | Display individual rigid bodies |
| • | Create new, and edit existing, simple and complex rigid body formulations |
| • | View and update details of individual rigid bodies, though the card editor and the Rigid panel |

The RBODY Manager in the tab area
Existing rigid bodies are shown in the table. For each rigid body, the display status, ID number, name, master node ID, and type is shown.
Column |
Description |
Disp |
Indicates whether the rigid body is displayed in the graphics area. |
ID |
The ID number of the rigid body. |
Title |
The descriptive name of the rigid body. |
Master Node |
The ID of the node that serves as the master node of the rigid body. |
Type |
S or C. S indicates a simple rigid body, which is a typical spider formulation. C indicates a complex formulation, such as an RBODY that points to a part or a set of sets. |
Highlight individual entries or groups of entries to perform an action on the rigid body. Actions are available from the context menu (by right-clicking over the table entries) or the toolbar buttons. These actions are described below:
Icon |
Name |
Action |
|
Review Options |
Customize the way the selected rigid bodies are displayed. Options include transparency and auto-review selections. |
|
Review |
Highlights the nodes to which the selected RBODY is attached. The master node is shown in blue and the slave nodes are shown in red. |
|
Find Attached |
Highlights the elements that are attached to the selected rigid body. |
|
Edit |
Modify the definition of the rigid body through the Rigid panel. |
|
Card Edit |
Opens the RBODY card in the Card Editor. |
|
Delete |
Deletes the selected rigid body. |
|
Refresh |
Update the table of rigid bodies. |
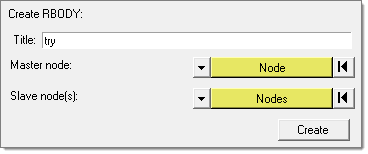
New rigid bodies can be created with the RBODY Manager. The following fields are available at the bottom of the RBODY Manager tab, which enable you to supply all the basic data needed to create a new RBODY. Nodes, parts, materials, properties, and GRNODs can be used to define the slave nodes. Once the RBODY is created, click the refresh button to list it in the table. Then you can select the RBODY to edit the card image, display the RBODY, and so on.

Fields to create a new RBODY
Notes:
|
| • | The tool is also available in the PAM-CRASH 2G user profile and offers similar features. |
See Also: