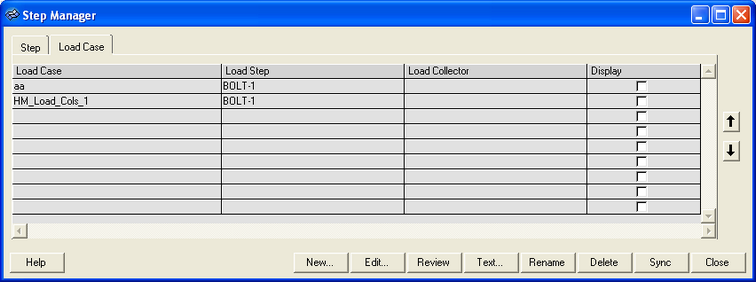
Abaqus Step Manager Load Case Tab |

|

|

|

|
|
Abaqus Step Manager Load Case Tab |

|

|

|

|
The Load Case tab contains the descriptions of all existing load cases with the corresponding load collectors. You can create, edit, review, rename, reorder, and delete load cases from this tab as well as set the display status of the load steps.

See Step Manager Dialog Environment for tips on navigating through the dialogs.
The Load Case tab contains the following buttons:
New |
Opens the Create New Load Case dialog. Enter the name of the new load case in the Name: text box and click Create to create the load step and open the corresponding Load Case editing dialog. |
Edit |
Opens the Load Step Editing dialog for the selected load step. |
Review |
Reviews the selected load collectors. All loads in the load collectors are highlighted in the HyperMesh graphics. The highlighted loads show through the solid mesh in performance graphics. If a load is defined with set, the underlying nodes or elements are highlighted. Right-click Review to clear the highlighted selections. |
Text |
Reviews the selected load step in a text window. |
Rename |
Opens the Rename panel for renaming load steps, load collectors, output blocks, or various interface controls. When you finish renaming, click return to update the Step Manager with the new names. |
Delete |
Deletes the selected load steps. |
Sync |
Updates the Step Manager with the current HyperMesh database. If you manually create, update, or delete load steps, load collectors, output blocks, groups, or entity sets from HyperMesh panels while the Step Manager is open, click Sync to update the Step Manager with the new changes. |
Close |
Closes the Step Manager. |
|
Moves the selected load cases up one row. |
|
Moves the selected load cases down one row. |