| 1. | Open the HyperMorph module. |
| 2. | Select the Domains panel. |
| 4. | Set the selector to global domain. |
| 5. | Set the toggle to all nodes. |
| 6. | Set the toggle to create handles. |
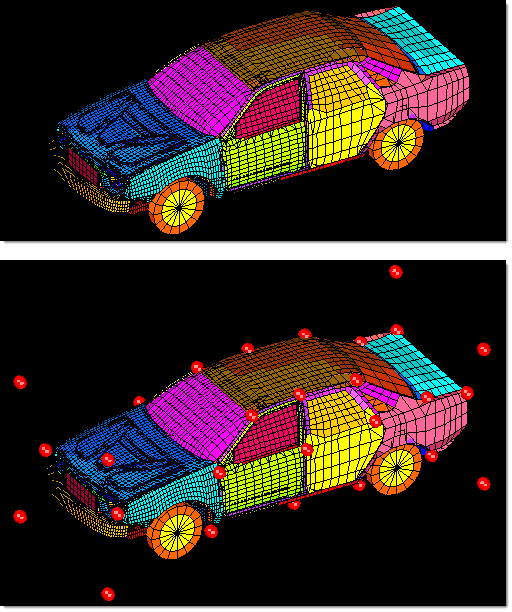
A global domain and global handles are created at useful positions throughout the space frame.
In many cases, these handles will be where you want them to be. If not, delete them and add global handles elsewhere:
| • | Press F2 or go to the Delete panel. |
| • | Delete any unwanted handles. |
| • | From the HyperMorph module, select the Handles panel. |
| • | Select an xyz position or any number of nodes where you want global handles. |
A new global handle is created at each node or at the specified xyz location. If more than one handle is created at a time, the handles will each be given a unique name by appending a number after the name you have given. You should place global handles both in areas where you want to apply perturbations and in areas that you want to stay fixed. You can also use morph constraints to fix nodes in place during global morphing but if you want them to affect the surrounding mesh you must select the stretch mesh around nodes option when creating the morph constraint. If you want a part of your model to move as a rigid body, such as a wheel or the engine block, use a cluster type morph constraint.

A global domain and global handles for a full car model
Exiting any panel in the HyperMorph module or the Delete panel automatically triggers HyperMorph to refresh the handle influences, if necessary. Adding, editing, or deleting handles, domains, or symmetries makes it necessary for HyperMorph to refresh the handle influences. For large models or large changes, this can be time consuming, so you will want to make all the changes you desire within each panel before exiting.
There are many options available for moving the handles. The best one to use depends on the results that you want to achieve.


