To create a new content, follow the steps below.
| 1. | Click New Content and select one of the available content types, such as HyperWorks Session File. |
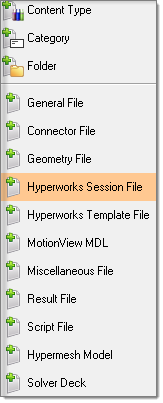
In the example above, the library is a CAE library and contains out-of-the-box content definitions. For a Generic library, you should add content types before creating new contents.
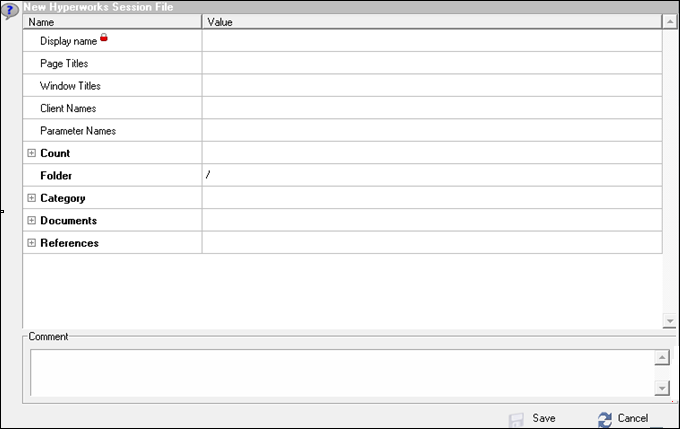
| 2. | Fill in values for desired metadata. |
| Note: | The required metadata is indicated by the  icon. icon. |
|
It is recommended to pick the Documents section first if your document has a known content type and a parser exists. If so, it will automatically fill in some of the metadata.
Caution: Performing this step will overwrite any information that you already typed in.
|
To add a document for the new content, follow the steps below:
| 1. | Click the Document Selector icon in the Documents row. A Choose File to add dialog displays. |
| Note: | It is recommended to pick the document first if it has a known content type for which a parser exists. It will automatically fill in some of the metadata. |
|
Caution: Performing this step will overwrite any information that you already typed in.
|
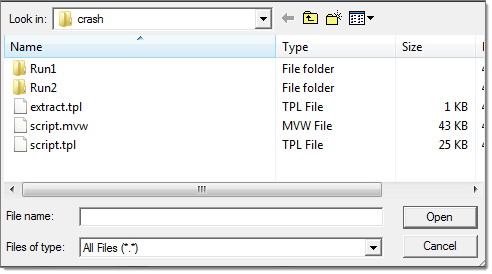
| 2. | Select your file and click Open. The file you have selected will be displayed underneath the Documents row. |
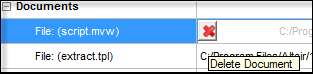
| Note: | To delete a document, click the document you wish to delete, and then click the  icon. icon. |
|
To add more than one document, repeat the steps above.
| Note: | Only the first selected document's metadata will automatically be filled in. |
|
To select a folder for the new content, follow the steps below:
| 1. | Inside the New Content dialog, such as a HyperWorks Session File, select the Folder row. |
| 2. | Click the folder icon to select your folder. |
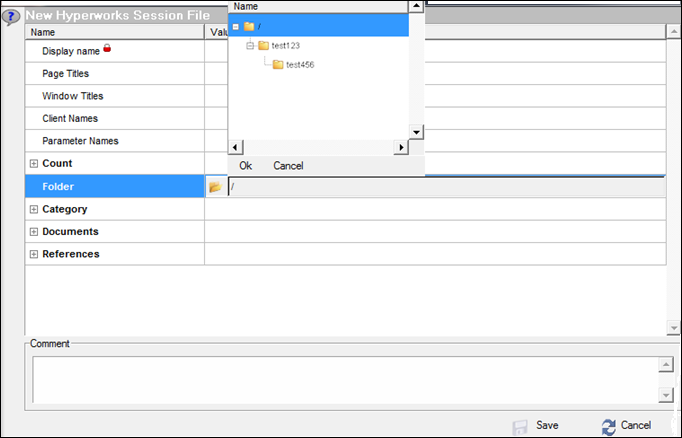
| 3. | Select your desired folder from the pop-up menu. |
| 4. | Click OK. Your folder will be displayed in the Folder row, and the new content’s documents will be saved to the selected folder. |
To select a category or categories for the new content, follow the steps below:
| 1. | Inside the New Content dialog, such as a HyperWorks Session File, select the Category row. |
| 2. | Click the folder icon to define your category, or categories. |
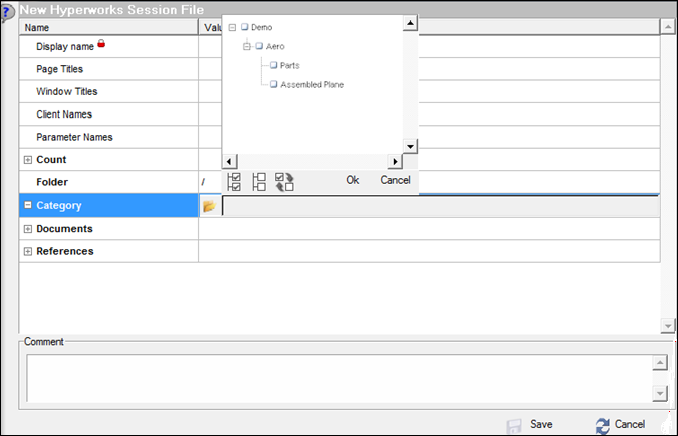
| 3. | Once your category, or categories, is selected, click Ok. Your categories are displayed in the Category row. |
| Note: | To select all categories click the  icon. To remove all selected categories click the icon. To remove all selected categories click the  icon. To switch between selecting all or none, click the icon. To switch between selecting all or none, click the icon. icon. |
|
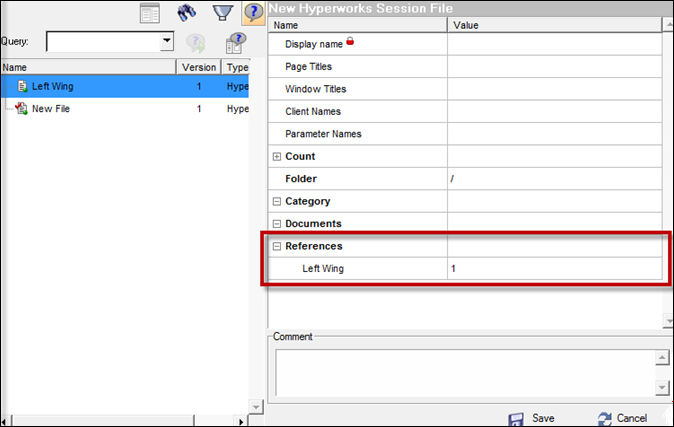
To define references for the new content, follow the steps below:
References are used to link one content to another. Typical examples would be a solver deck master file which refers to its include files, or a HyperWorks session file which refers to the results files used in the session.
| 1. | Click the Show/Hide Query icon, , to search for the desired contents to refer to. You can use the associated Properties, Find, Filter and Query tools to help locate the content or contents you wish to reference. , to search for the desired contents to refer to. You can use the associated Properties, Find, Filter and Query tools to help locate the content or contents you wish to reference. |
| 2. | Select contents from the left Content browser, right-click, and select Add Reference. Your selection will be listed under the Reference row, as shown below. |
| Note: | If the content to be referenced has more than one version, select the desired version to be referenced. |
|
| Note: | You cannot add references to Folders or Categories |
|
| 3. | To delete references, select the reference to be deleted and click Delete reference. |

| 4. | Once you have made all your modifications for the new content, click Save. |


