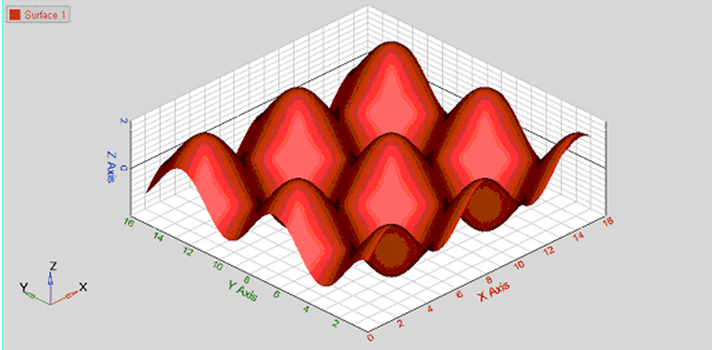
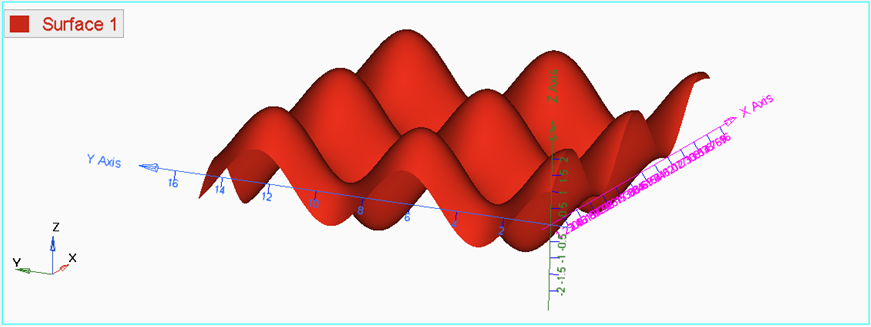
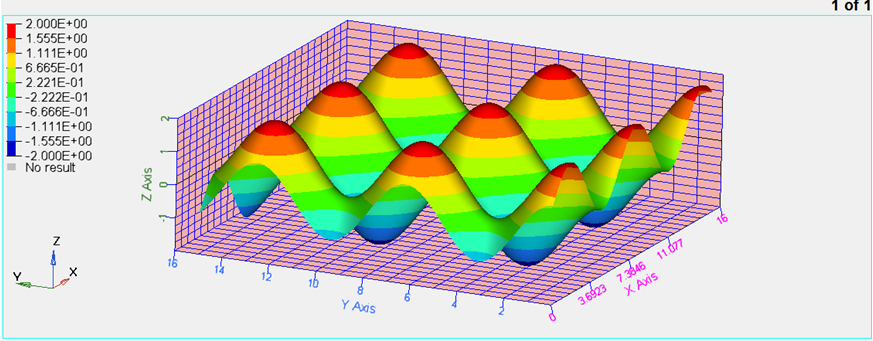
In this tutorial, you will learn how to:
| • | Work with the Axes panel |
| • | Use the Edit Legend dialog |
Tools
The Curve Attributes panel can be accessed one of the following ways:
| • | From the toolbar, click the Curve Attributes icon  . . |
Or
| • | From the menu bar, select Curves > Curve Attributes. |
Surface attributes, such as Surface style, color, and weight are located in the Curve Attributes panel. This panel also allows you to contour the surface and edit the legend.
Surface List: The Surface list displays the names of all surfaces in the active window.

The Axes panel can be accessed one of the following ways:
| • | From the toolbar, click the Axes icon  . . |
Or
| • | From the menu bar, select Annotations > Axes. |

Axis attributes such as labels, color, and scaling can also be modified using the Axes panel.
Exercise: Editing Surface Plots
Step 1: Open session file.
| 1. | From the menu bar, select File > Open > Session. |
| 2. | Select the file Curve_Attributes_Surface.mvw, located in the 3dplotting folder, and click Open. |

Step 2: Working with the Axes Panel
| 1. | Click the Axes panel icon  . . |
| 2. | Pick a color from the color palette for the X axis. |
| 3. | Change the number of Tics per axis. Note what happens to the values on the X axis of the screen. |
| 4. | Click on the tabs for Y and Z axes, respectively, and change the colors of the respective axis. |
| 5. | Click on the Shading tab. |

| 6. | Verify that the Grid style: is Box and change the Grid line color. |
| 7. | Verify that the Axes lengths is set to Automatic. |
| 8. | Check the Lines option for Grid style. |

| 9. | Change the Background color by selecting a color from the palette. |
| 10. | Go back to the Box option for Grid Style. |
Step 3: Editing the curve attributes and contouring the plot
| 1. | Click on the Curve Attributes panel icon  . . |
| 2. | Verify that the Surface tab is active. |
| 3. | Change the Display mode of the surface to meshed by clicking  from the Display mode options in the panel. from the Display mode options in the panel. |
| 4. | Change opacity for the surface to Transparent by clicking on  . . |
| 5. | Change the Display mode back to without mesh lines and to solid opacity. |
| 6. | Check the Contour option. |
| 7. | Select the axis in the Expressions = drop-down menu to be Z axis. |

| 8. | Repeat the previous step for the Y Axis. |
Step 4: Using the Edit Legend dialog
| 2. | Experiment with the following: |
| - | Change the numeric format. |
The format automatically changes in the legend box.
| - | Change the numeric precision |
| - | Change the number of levels. |
The number of color bands in the legend box automatically changes.
| 3. | Click on a number in the legend box and enter a new value. |
The edited value is displayed in bold font. The remaining values linearly interpolate.
| 5. | Add a header and footer to the legend. |
| - | Activate the Header check box and enter text in the text box. |
| - | Click the font button  and change the font type and size. and change the font type and size. |
| - | Activate the Footer check box and enter text in the text box. |
| - | Click the font button  and change the font type and size. and change the font type and size. |
| 6. | Change the color of a legend band. |
| 7. | Interpolate colors between two color bands. |
| - | Click on the first changed color. |
| - | Click on a second changed color. |
| - | The colors between the two selected colors are interpolated. |
Step 5: Save legend settings for future use.
Once you have completed your legend settings, you can save them for future use. Items that can be saved are listed in the Save options section.
| 1. | Activate the check boxes for the attributes you want to save. |
Files are saved in Tcl format.
| 5. | Click Default to return to the default settings. |
| 6. | Click Open... to open the saved file and load the previously determined legend settings. |
The contour colors and legend are retrieved just as you saved them.
Go to HyperGraph 3D Tutorials


