3D linear or quadratic source element data can be mapped to 2D/3D target elements. 3D source element can have loads or results to be mapped.
| 1. | Import or open a 3D/2D target model. |
You can import a 3D model from solver files (current model), or results files containing temperatures, pressures, or other loads. When importing, use ID offset in order to preserve the new model's IDs.
| 2. | Create and define a field entity. |
| a. | In the Model browser, right-click and select Create > Field from the context menu. |
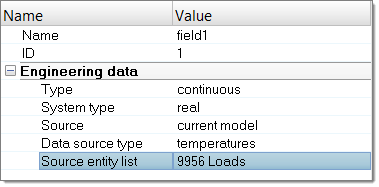
| b. | In the Entity Editor, define from the current model using loads or results. |

| 3. | Delete the source model. |
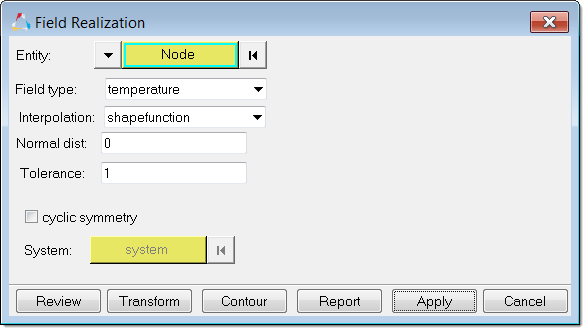
| a. | In the Model browser, right-click on the field and select Realize from the context menu. |
| b. | In the Field Realization dialog, define realization settings. |

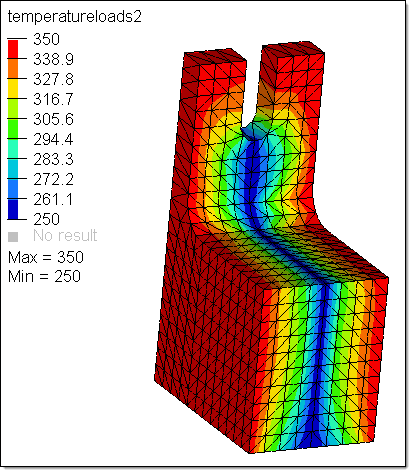
| 5. | In the Field Realization dialog, click Contour to contour the target elements of a mapped temperature loads from another 3D source model. |

See Also:
Fields


