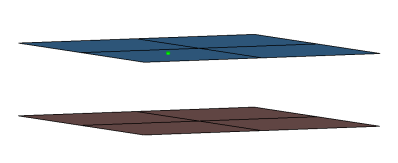
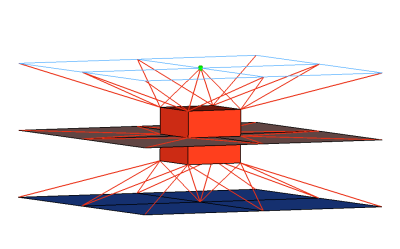
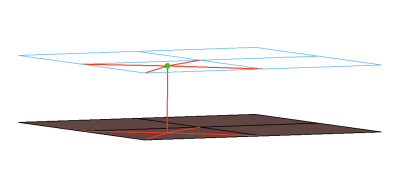
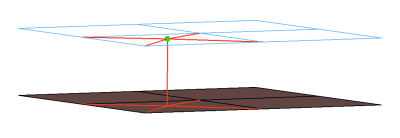
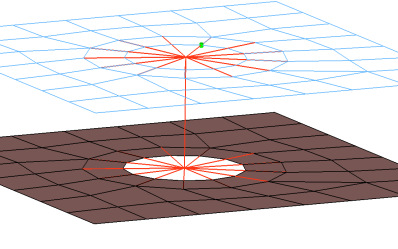
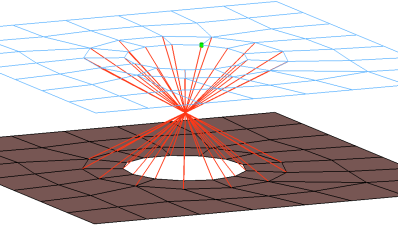
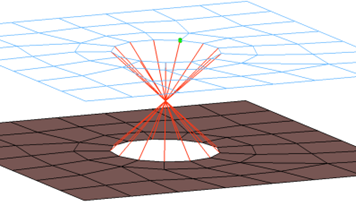
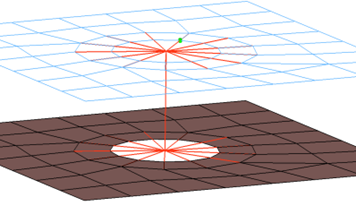
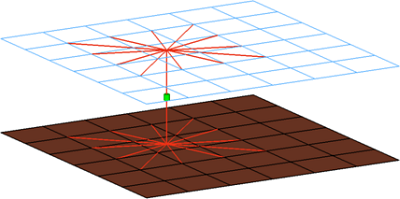
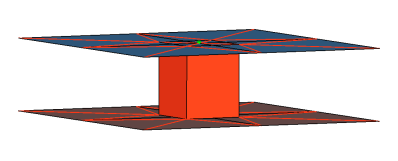
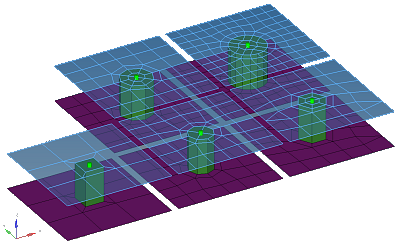
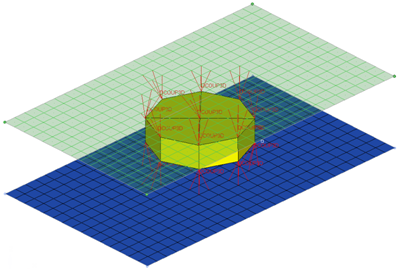
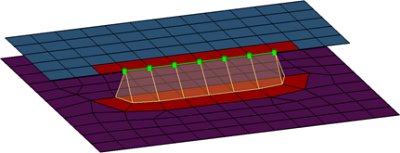
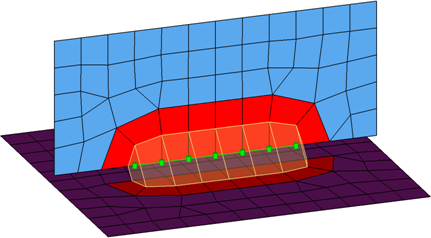
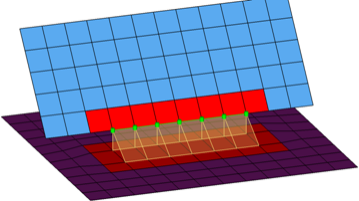
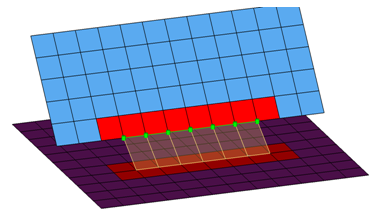
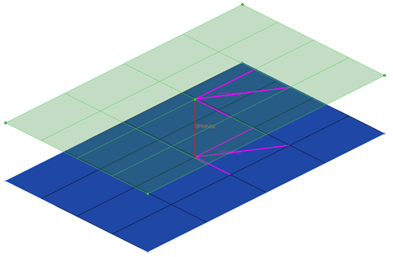
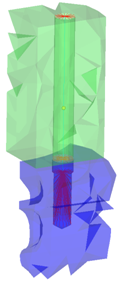
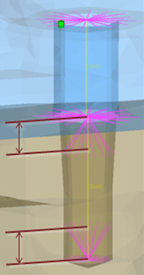
Description: Consolidates several ACM definitions into one general, flexible ACM definition. Besides mid thickness, constant thickness, and maintain gaps, the definition of several coats with different hexa patterns is available.
This realization uses the prop_abaqus_acm.tcl property script.
The script performs the following tasks:
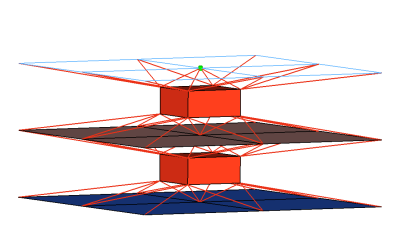
| 1. | Organizes the DCOUP3D elements into a component with the name DCOUP_3D_# (# starts with 1 and increments as 1, 2, 3, and so on, with every new component). |
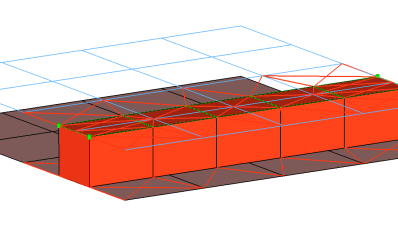
| 2. | Organizes the HEXA elements into a component with the name C3D8_comp_# (# starts with 1 and increments as 1, 2, 3, and so on, with every new component). |
| 3. | Creates properties with the SOLIDSECTION card image with the name prop_# (# starts with 1 and increments as 1, 2, 3, and so on, with every new connector) which is referenced by the above HEXA component. |
| 4. | Creates materials with the name prop_#, which is referenced by the above properties. |
|
|