In this tutorial, you will learn how to:
| • | Couple HyperStudy with a spreadsheet containing Visual Basic scripts. |
| • | Identify input variables and output responses. |
The Excel spreadsheet used in this tutorial can be found in <hst.zip>/HS-1036/. Copy the file from this directory to your working directory.
| 1. | In Excel, open the iBeam_withMacros.xls file. This spreadsheet performs calculation for a top loaded cantivlevered beam with an “I” cross section. The input variables and output responses are labeled for clarity. |
| Note: | When you create an Excel spreadsheet model, it is important that it is formatted correctly. A variable's value and label can be formatted in two consecutive rows or two consecutive columns. Variable labels should only contain English characters, or a combination of English characters and numbers. If a label is not created for a variable, HyperStudy will assign one by default. |
| 2. | In the cell to the right of Web Thick, change the value. |
| 3. | To update the calculated output responses, click Run macro named PerformCalcs. The formulas and operations to calculate the output response values are contained in a Visual Basic Script macro called “Perform Calculations”. When a change is made to one of the input variables, it is not reflected in the output responses until you run the script. |
| Note: | To run the Visual Basic script macro, you must enable macros in Excel. |
| 4. | Save any changes you made to the spreadsheet. |
|
| 2. | To start a new study, click File > New from the menu bar, or click  on the toolbar. on the toolbar. |
| 3. | In the HyperStudy – Add dialog, enter a study name, select a location for the study, and click OK. |
| 4. | Go to the Define Models step. |
| 5. | Add a Spreadsheet model. |
| a. | From the Directory, drag-and-drop the iBeam_withMacro.xls file into the work area. The Solver input file field displays hst_input.hstp, this is the name of the solver input file HyperStudy writes during an evaluation. |

| b. | In the Solver input arguments column, enter PerformCalcs. This is the name of the Visual Basic script. |

| 6. | Click Import Variables. The iBeam_withMacro.xls spreadsheet opens. |
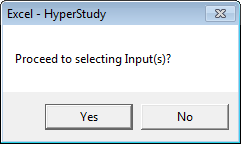
| a. | In the Excel - HyperStudy dialog, click Yes to begin selecting input variables. |
| b. | In the spreadsheet, select the cells that contain the input variable's labels and values. |
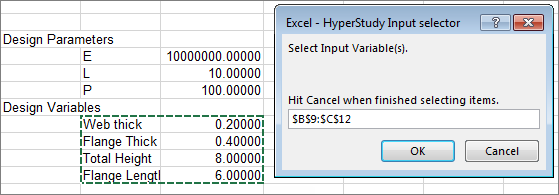
| c. | In the Excel - HyperStudy Input selector dialog, click OK. |
| d. | Click Cancel to stop selecting input variables. |
| a. | In the Excel - HyperStudy dialog, click Yes to begin selecting output responses. |
| b. | In the spreadsheet, select the cells that contain the output response's labels and values. |
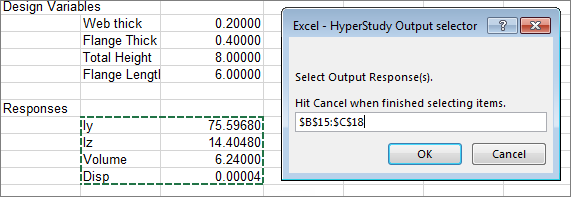
| c. | In the Excel - HyperStudy Output selector dialog, click OK. |
| d. | Click Cancel to stop selecting output responses. Four input variables and four output responses are imported from the iBeam_withMacro.xls spreadsheet. |
| 9. | Go to the Define Input Variables step. |
| 10. | Review the input variable's lower and upper bound ranges. |
| 11. | Go to the Specifications step. |
|
| 1. | In the work area, set the Mode to System Bounds Check. |
| 3. | Go to the Evaluate step. |
| 4. | Click Evaluate Tasks. An approach/nom_1/ directory is created inside the study directory. The approaches/nom_1/run__00001/m_1 directory contains the hst_output.hstp file, which is the result of the nominal run. |
| 5. | When the evaluation is complete, click the Evaluation Data tab. |
| 6. | Examine the run data to ensure that the output response values changed in each evaluation. |

| 7. | Go to the Define Output Responses step. |
|
See Also:
HyperStudy Tutorials


