In this tutorial, you will:
| • | Edit the legend fill color |
| • | Save legend settings for future use |
Tools
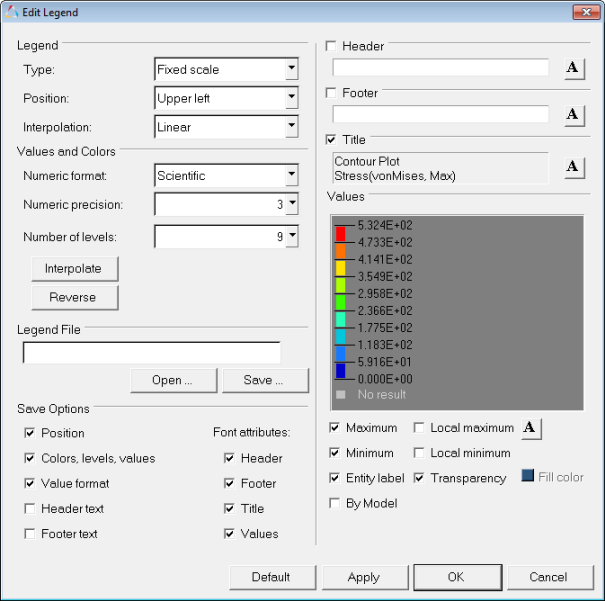
To access the Edit Legend dialog:
| • | Click the Edit Legend button in the Contour, Vector, or Tensor panel. |

The Edit Legend dialog allows you to change the color band, format, and descriptions for legends.
Exercise: Edit the Legend and save the settings
This exercise uses the d3plot file as both the model and the results file.
Step 1: Edit the legend format.
| 1. | Load the d3plot file, located in the animation\truck folder. |
| 2. | Create a vonMises stress contour using the Contour panel  . . |
| 4. | Animate the model  . . |
Observe the changes in the legend.
| 5. | Click the Animation Controls panel button  on the Animation toolbar. on the Animation toolbar. |
| 6. | Slow down the speed of the animation by adjusting the Max Frame Rate. |
| 7. | Pause the animation  . . |
| 8. | Return to the Contour panel. |
| 10. | Change the legend Type to Dynamic scale. |
The legend values automatically change in the preview window.
| 11. | Change the legend Position to Lower left and click Apply. |
The legend moves to the new position.
| 12. | Close the Edit Legend dialog. |
Observe the legend updates for each time step.
| 15. | Open the Edit Legend dialog. |
| 16. | Experiment with the following: |
| - | Change the numeric format. |
The format automatically changes in the legend box.
| - | Change the numeric precision. |
| - | Change the number of levels. |
The number of color bands in the legend box automatically changes.
| - | Click the Reverse button. |
The values are reversed in the legend box. The lowest value is now red; the highest is now blue.

|

|
Original levels
|
Reversed levels
|
| 17. | Change the legend Type to Fixed scale. |
| 18. | Click on a number in the legend box and enter a new value. |
The edited value is displayed in bold font. The remaining values linearly interpolate.
| 20. | Add a header and footer to the legend. |
| - | Activate the Header check box and enter text in the text box. |
| - | Click the font button  and change the font type and size. and change the font type and size. |
| - | Activate the Footer check box and enter text in the text box. |
| - | Click the font button  and change the font type and size. and change the font type and size. |
| - | Click Apply to add the legend header and footer to the legend on the screen. |
Step 2: Edit legend colors.
| 1. | Change the color of a legend band. |
| 2. | Interpolate colors between two color bands. |
| - | Click on the first changed color. |
| - | Click on a second changed color. |
The colors between the two selected colors are interpolated.
The new color scheme is applied to the model.

|

|

|
Original colors
|
Two changed colors
|
Interpolated colors
|
Step 3: Edit the legend fill color.
| 1. | Change the background color of the legend. |
| - | Uncheck the Transparency check box. |
| - | Click the Fill color box and select a new color from the palette. |
Note - The Fill color option is disabled if the Transparency option is activated.
The background color of the legend in the graphics area changes to the new color.
| - | Change the legend background to another color. |
| 2. | Change the legend fill color back to transparent. |
| - | Activate the Transparency check box. |
Observe how the background color of the legend is now the same color as the graphics background.
Step 4: Save legend settings for future use.
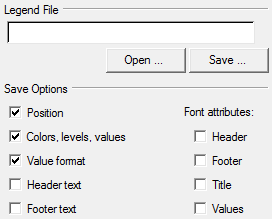
Once you have completed your legend settings, you can save them for future use. Items that can be saved are listed in the Save options section.

| 1. | Activate the check boxes for the attributes you want to save. |
| 3. | Designate a file name and path. |
Files are saved in Tcl format.
| 5. | Click Default to return to the default settings. |
| 7. | Click Open to open the saved file and load the previously determined legend settings. |
The contour colors and legend are retrieved just as you saved them.
See also
Edit Legend
Contour Panel
HyperView Tutorials for a complete list of HyperView tutorials


