In this tutorial, you will learn how to:
| • | Mask elements and components |
| • | Unmask elements and components |
Tools
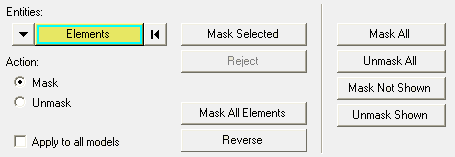
To access the Mask panel, click the Mask panel button  on the Display toolbar.

The Mask panel allows you to mask elements, components, and systems to reduce the number of entities displayed on the screen.
Exercise: Using the Mask Panel
This exercise uses the model file, truck.key and the corresponding d3plot file as the results file.
Step 1: Masking and Unmasking elements using the graphics area.
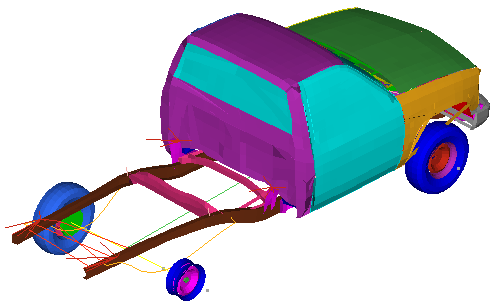
| 1. | Load the truck.key model file and the d3plot results file, located in the animation\truck folder. |
| 2. | Click the Mask panel button  on the Display toolbar. on the Display toolbar. |
| 3. | Verify that the entity input collector is set to Elements. |
| 4. | Under Action, verify that the Mask option is turned on. |
| 5. | Press the SHIFT key and the left mouse button, and drag the mouse in the graphics area, to draw a window over a specific area of the model. |
| 6. | Release the mouse button. |
The elements that were chosen, using the quick window selection mode, are masked and are no longer displayed on the screen.
| 7. | Under Action, turn on the Unmask option. |
| 8. | Press the SHIFT key and the left mouse button, and drag the mouse in the graphics area, to draw a window over the area of the model where the elements are currently masked. |
| 9. | Release the mouse button. |
The elements enclosed in the window are unmasked.
| 10. | Click the Unmask All button, to unmask all elements of the model. |
| 11. | Change the entity input collector from Elements to Components. |
| 12. | Turn the Mask option back on. |
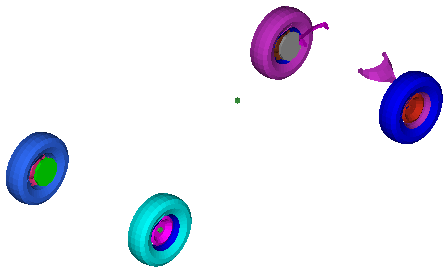
| 13. | In the graphics area, pick the truck bed and the right rear tire of the model. |
| 14. | Click the Mask Selected button. |

| 15. | Press the SHIFT key and the left mouse button, and drag the mouse in the graphics area, to draw a window over a specific area of the model. |
| 16. | Release the mouse button. |
The components enclosed in the window are masked.
| Note | You can also use the quick window selection mode to choose alternate selection methods. |
| 17. | Turn the Unmask option back on. |
| 18. | Press the SHIFT key and the left mouse button, and drag the mouse in the graphics area, to draw a window over the area of the model where the elements are currently masked. |
Upon release of the mouse button, the masked components enclosed in the window are unmasked.
| 19. | Click the Unmask All button, to unmask all selected components. |
| Note | When you load more than one model using the Overlay option, the Apply to all models option is made available. This option allows you to mask entities across all models when activated. If the Apply to all models option is not activated, the mask is applied only to the active model. |
Step 2: Masking elements using the entity input collector.
| 1. | Under Action, turn the Mask option back on. |
| 2. | Verify that the entity input collector is set to Components. |
| 3. | In the graphics area, pick the roof of the truck. |
| 4. | Click on Components, to access the extended entity selection menu. |

| 5. | Select By Attached from the selection list. |
| 6. | Click the Mask Selected button. |

| 7. | Click the Reject button. |
The masked components are rejected and unmasked.
See also
Mask Panel
HyperView Tutorials for a complete list of HyperView tutorials


![]() on the Display toolbar.
on the Display toolbar. 


