In this tutorial, you will learn how to:
| • | Turn components on and off from the Results Browser |
| • | Isolate components in the Results Browser |
| • | Change the display style and attributes from the Results Browser |
| • | Add items to panel collectors using the Results Browser |
| • | Change the items which are displayed in the Results Browser |
Tools
To access the Results Browser, select View > Browsers > HyperView > Results from the menu bar.
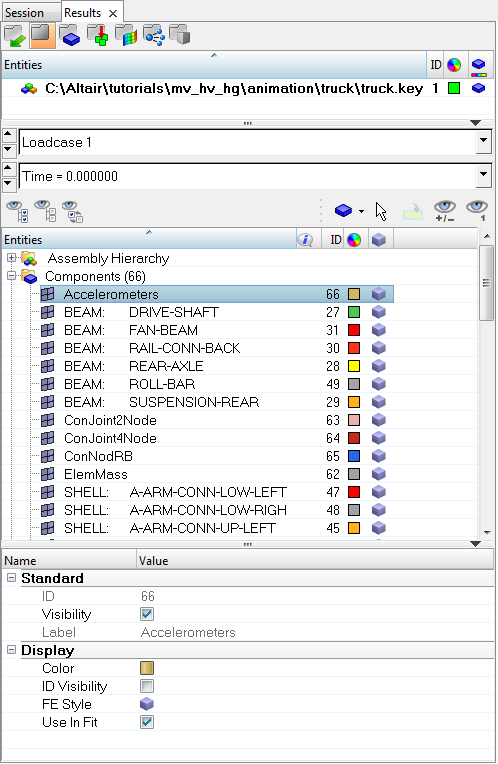
The Results Browser displays the contents of the current model such as assemblies, parts/components, systems, and sets (groups) in a tree-like structure. It allows you to change the attributes of individual entities, and also control which entities appear in the model display.
Exercise: Using the Results Browser
This exercise uses the model file, truck.key and the corresponding d3plot file as the results file.
Step 1: Turning components on and off from the Results Browser.
| 1. | Load the truck.key model file and the d3plot results file, located in the animation\truck folder. |
| 2. | In the Results Browser, click  to activate the Show/Hide mode. to activate the Show/Hide mode. |
| 3. | Right-click on the bed of the truck in the graphics area. |
The component is hidden from display.
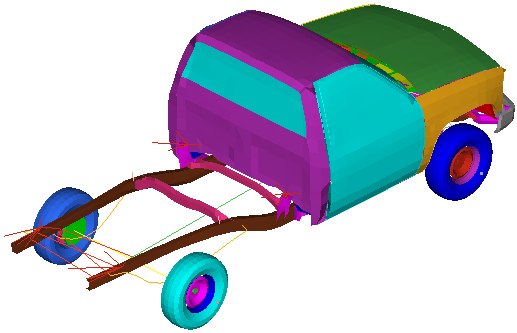
| 4. | Left-click in the area of the truck bed to show the component. |
| Note | Holding down the left mouse button will generate a wire frame highlight of a hidden component. |
| 5. | Expand the tree under Components by clicking the ‘+’ icon in the Results Browser. |
| 6. | Right-click on SHELL: BED, and select Hide from the context menu. |
The component is no longer displayed in the graphics area.
| 7. | Right-click on SHELL: BED and select Show. |
The component is turned back on.
| 8. | Select the Components folder. |
| 9. | Click the Display None button  to turn off all components. to turn off all components. |
| 10. | Expand the Sets folder. |
| 11. | Select 1D Set under the Sets folder. |
| 12. | Click the Display All  button to turn on the 1D set. button to turn on the 1D set. |
Only the 1D Set is displayed in the graphics area.
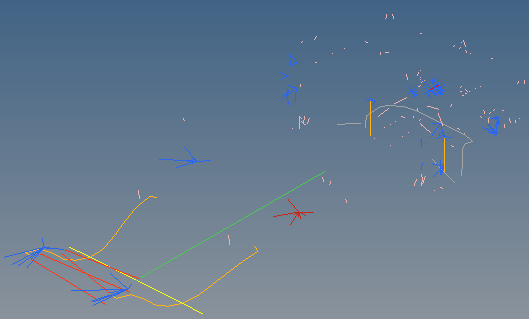
| 13. | Right-click on the 1D Set folder and select Hide. |
| 14. | Select the Components folder again. |
| 15. | Click Display All  to turn on the display of all components. to turn on the display of all components. |
| 16. | Click Selector  to activate the selector. to activate the selector. |
| 17. | Press and hold down the left mouse button over the hood area. |
| 18. | Rotate the mouse wheel to select hidden items and select SOLID: RADIATOR. |
| 19. | Click Display None  to remove it from display. to remove it from display. |
Step 2: Isolating components using the Results Browser.
| 1. | Click  to activate the Isolate tool. to activate the Isolate tool. |
| 2. | Click on SHELL: BED in the Results Browser. |
The component is isolated in the graphics area.
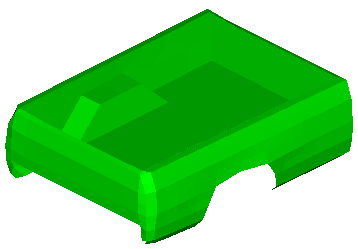
| 3. | Click  again to deactivate Isolate. again to deactivate Isolate. |
| 4. | Right-click on SHELL: CABIN and select Isolate. |
The cabin is isolated in the graphics area.
| 5. | Right-click on the Components folder and select Show. |
All components are displayed in the graphics area.
Step 3: Changing the display style and attributes from the Results Browser.
| 1. | Click on the SHELL: BED component in the Results Browser. |
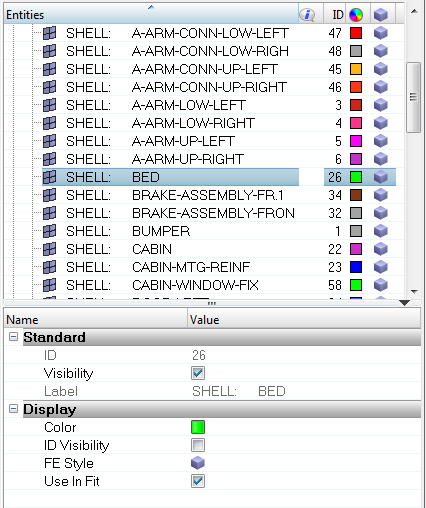
| 2. | Under the Display section in the Entity Editor, click on the icon  next to FE Style. next to FE Style. |
| 3. | Select the Shaded Elements and Mesh Lines mode  from the display Style pop-up menu. from the display Style pop-up menu. |
| 4. | Click on the Color  for the SHELL: BED component. for the SHELL: BED component. |
| 5. | Select a new color from the color palette. |
The color of the component is changed.
Step 4: Using the Results Browser to add items to a panel collector.
| 1. | Select the Contour panel  from the Results toolbar. from the Results toolbar. |
| 2. | From the Results Browser, click Selector  to activate the selector. to activate the selector. |
| 3. | Select the SHELL: BED component. |
| 4. | Click on the Add To Panel Collector icon  to add the bed component to the Components collector. to add the bed component to the Components collector. |
| 5. | Change the Result type to Stress (t) vonMises. |
| 6. | Click Apply to apply the contour to the SHELL: BED component. |
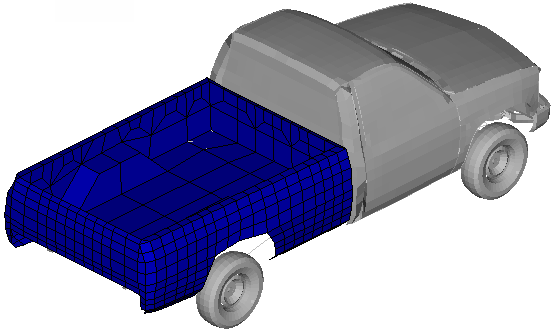
| 7. | Animate the model and use the Animation Controls to view the contour applied only to the SHELL: BED component. |
Step 5: Change the entities displayed in the Results Browser view.
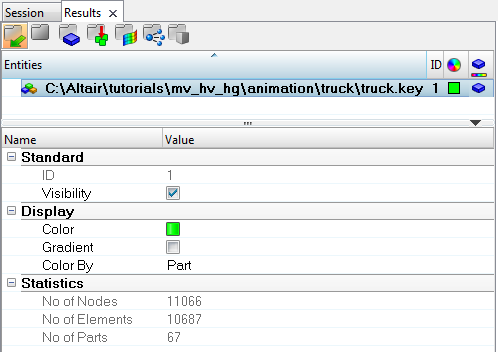
| 1. | Click on the Files view icon  to open the files view in the Results Browser. to open the files view in the Results Browser. |
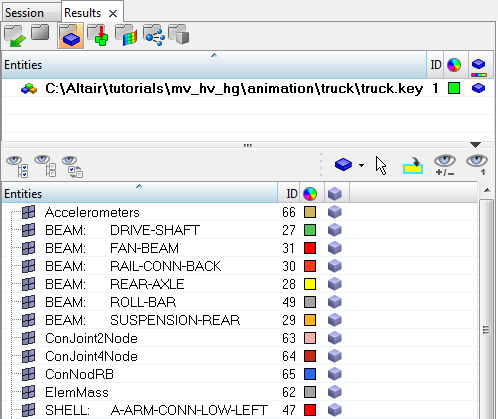
| 2. | Click on the Component View icon  to change the view in the Results Browser to display only components. to change the view in the Results Browser to display only components. |
See also
Results Browser
HyperView Tutorials for a complete list of HyperView tutorials


