|
»Click here to display Table of Contents«
|

Shrink Wrap panel |

|

|

|

|
|
Shrink Wrap panel |
|
|

|

|
|
»Click here to display Table of Contents«
|
Shrink Wrap panel |
|
|
|
|
|
Shrink Wrap panel |
|
|
|
|
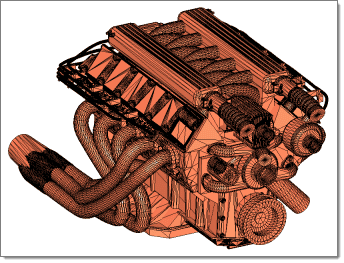
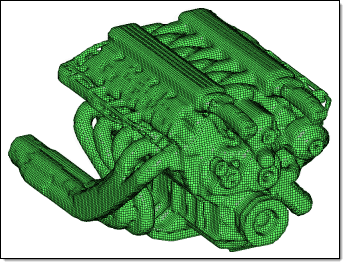
Use the Shrink Wrap panel to generate an enclosed volume or solid mesh, and is typically used to approximate and simplify an existing model. For details, see Shrink Wrap Meshing in the User's Guide.
|
|
Shrink wraps can be generated using two algorithms: Loose or Tight. These determine how closely the resulting mesh adheres to the details of the underlying model, and are best suited to different use cases which will vary for any given use.
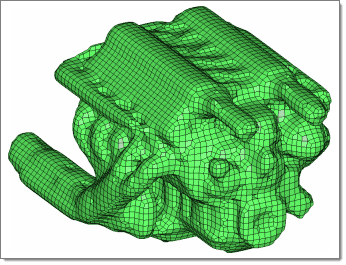
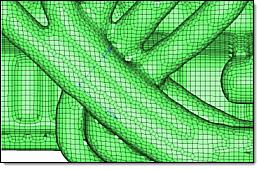
| • | A Loose Shrink Wrap generates a loose-fitting shrink wrap mesh that generally conforms to the model. |
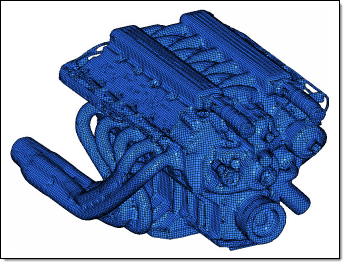
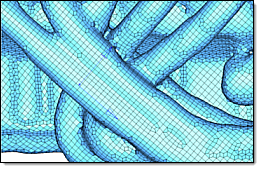
| • | A Tight Shrink Wrap generates a tight-fitting mesh that adheres closely to the underlying model, capturing as many features as possible. |
In both wrap types, the steps necessary to generate a shrink wrap are identical.
There are no subpanels on the Shrink Wrap panel. All inputs and command buttons are located on the main panel.
Input |
Action |
||||
(entity switch and selector) |
Use the switch to choose the type of entity that you wish to wrap: nodes, elements, components, surfaces, points, or solids. Then use the entity selector to pick the entities that you wish to wrap. |
||||
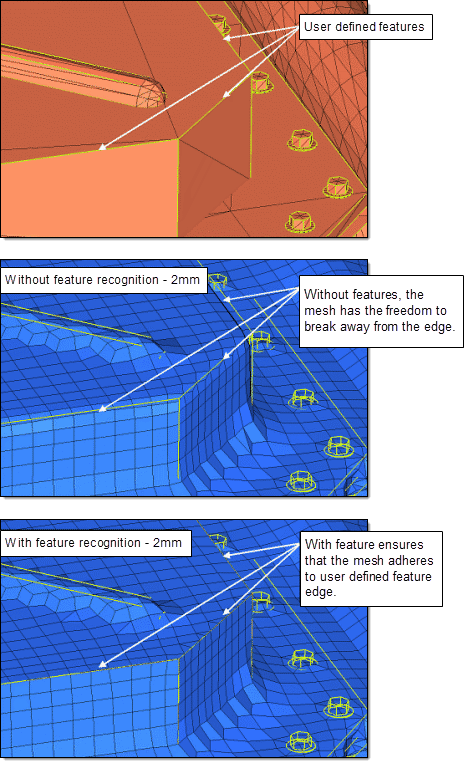
features |
Use this selector to pick feature lines on the model that must be retained. When meshed, elements will not cross over these lines.
|
||||
tight wrap / loose wrap |
This option is not available when wrapping nodes or points. A tight wrap conforms more strictly to the underlying geometry, while a loose wrap abstracts that geometry to a greater degree.
|
||||
patch holes |
This option is not available when wrapping nodes or points. If your model contains holes that you wish the shrink wrap to cover over as if they did not exist, click the patch holes checkbox. Three new inputs appear:
Holes refer to more-or-less circular or oblong openings, while gaps refer to void spaces between components. In both cases, holes or gaps larger than the specified value (in model units) will not be patched over.
|
||||
element size = |
The target element size for the shrink wrap mesh.
|
||||
generate solid mesh |
When this option is active, the shrink wrap is created as a solid mesh rather than a shell mesh. This results in a mesh with no void space inside, rather than a hollow "bag" of mesh around the geometry. |
||||
mesh orientation: global system /
|
Choose whether to orient the mesh according to the global coordinate system, or a local one. This can strongly affect how the mesh follows the underlying geometry as shown below:
|
The following action buttons appear:
Button |
Action |
mesh |
Create the new shrink wrap mesh according to the input values. |
reject |
Undo the most recent shrink wrap mesh creation. |
features |
Open the features panel, where you can define feature lines in the model that should be preserved during the meshing process. |
return |
Exit the panel. |