|
»Click here to display Table of Contents«
|

Mesh Holes Panel |

|

|

|

|
|
Mesh Holes Panel |
|
|
|

|
|
»Click here to display Table of Contents«
|
Mesh Holes Panel |
|
|
|
|
|
Mesh Holes Panel |
|
|
|
|
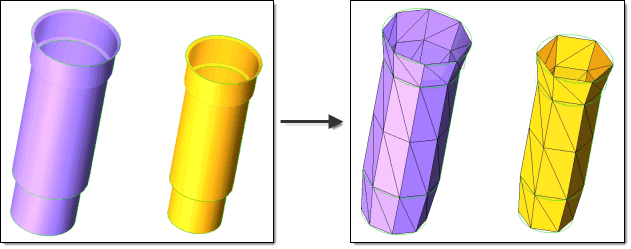
Use the Mesh Holes panel to mesh the holes that you organized in the previous panel. This panel contains the same table, but now all of the organization criteria are set to read-only and cannot be changed. However, the Mesh Type column is active so that you can select the mesh type that you want to use when meshing the holes.
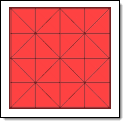
There are two mesh type options in this panel: standard right-angle trias, and "union jack" right-angle trias.
Standard R-Tria |
Union Jack R-Tria |
As in the previous panel, each table row has a color button on its left which corresponds to the component holding hole surfaces. Clicking one of these buttons selects the entire row, making it the "active" row.
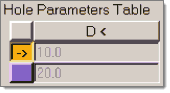
Here, the orange row is active.
To deselect an active row, click the colorless button at the very top-left corner of the table (the one in the header row along with the column names).
You can mesh a single group of holes by clicking the row in the table that contains the hole diameter range that you wish to mesh, and then clicking the Mesh button. Alternatively, you can mesh all holes simultaneously by clicking Mesh All.
Similarly, you can use the Delete Mesh button by selecting an active row and then clicking the button.
|
You can back up to the Cleanup & Organize Holes panel by clicking Prev. When finished meshing, click either ACCEPT or Next to continue. You can also click on a specific task in the Process Manager to go to the appropriate panel.