Model Files
This exercise uses the bumper_morphing.hm file, which can be found in the hm.zip file. Copy the file(s) from this directory to your working directory.
Exercise: Changing the Curvature of a Bumper to a Curved Line
In this exercise, you will use the line difference approach to morph a bumper to conform to a new section line.
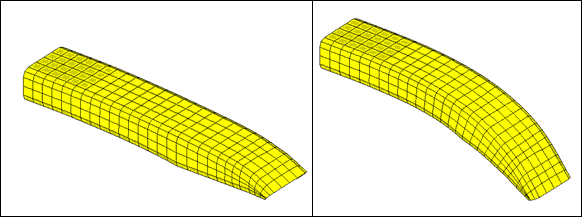
Figure 1: Bumper before and after morphing
Step 1: Load and review the model.
Open the HyperMesh file, bumper_morphing.hm.
Step 2: Morph the bumper.
| 1. | Open the map to geom panel by clicking Morphing > Map to Geometry from the menu bar. |
| 2. | Change the geometry selector to line difference. |
| 3. | Select the from line (Line A) and the to line (Line B) as shown in figure 2. |
| 4. | Toggle the morphing entity (2nd column) from map domains to map nodes. |
| 5. | Select nodes >> displayed. |
| 6. | Use no fixed nodes (2nd column, 2nd row). |
| 7. | Use map by line axis morphing with a 1.0 mvbias and fxbias (column 3). |
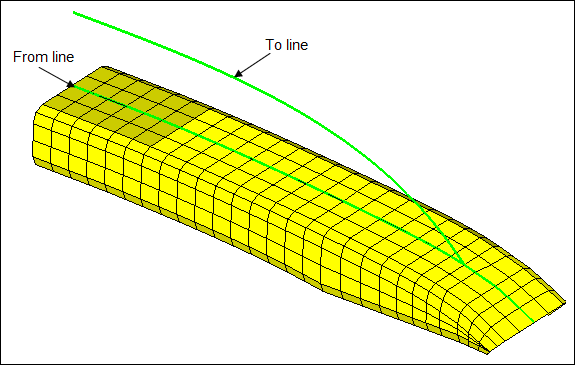
Figure 2: The from line and the to line
Summary
The profile of the bumper is changed to follow the new section line.
See Also:
HyperMesh Tutorials


