Model Files
This exercise uses the car_section.hm file, which can be found in the hm.zip file. Copy the file(s) from this directory to your working directory.
Exercise: Changing the Profile of the Roof of a Car
In this tutorial, you will use map to sections to change the profile of the car roof.
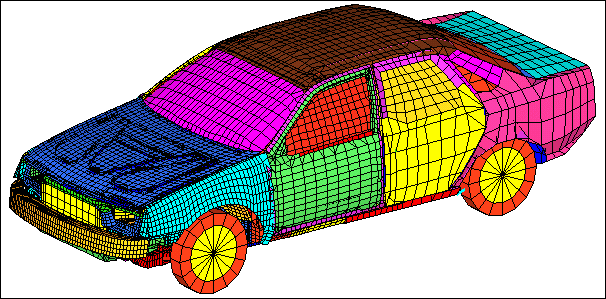
Figure 1: Car model.
Step 1: Load and review the model.
Open the HyperMesh file, car_section.hm.
Step 2: Morph the roof.
| 1. | Click Morphing > Map to Geometry to access the Map to geom panel. |
| 2. | Change the mapping section type to map to sections. |
| 3. | Under map to sections, toggle lines to line list. |
| 4. | Switch map domains to map elements (2nd column). |
| 5. | Toggle no fixed nodes to fixed nodes (2nd column). |
| 6. | Keep blend all option selected. |
| 7. | Keep rotate nodes active. |
| 8. | Keep the 3rd column selector set to map by line normal. |
| 9. | Click first line list button and select Line A and Line B on the model. |
| 10. | Under to: click the second line list button and select Line A’ and Line B’ on the model. |
Lines should be selected in the same order.
| 11. | Under map to elements click the elems button and select elements by collector. |
| 12. | Pick collector Roof. (This may be located on the second page of collectors) |
| 14. | Click the XZ Right Plane View ( ) icon to set the view ) icon to set the view |
| 15. | For fixed nodes use Shift + Left Mouse Button to select all the nodes as shown in figure 2. |
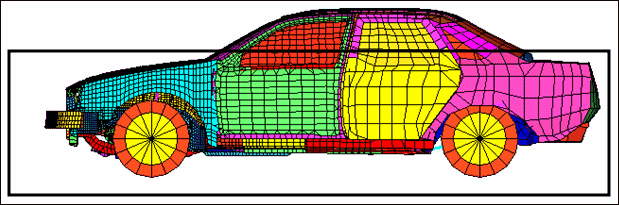
Figure 2: Selection for fixed nodes
Summary
The roof of the car has been morphed while the mesh quality has been maintained.
See Also:
HyperMesh Tutorials


