In this tutorial, you will learn how to:
| • | Import a file into a current HyperMesh session |
| • | Save the HyperMesh session as a HyperMesh model file |
| • | Export all of the geometry to an IGES file |
| • | Export all of the mesh data to an OptiStruct input file |
| • | Delete all of the data from the current HyperMesh session |
| • | Import an OptiStruct file to the current HyperMesh session |
Model Files
This exercise uses the following model files: bumper_cen_mid1.hm, bumper_mid.hm, bumper_end.igs, and bumper_end_rgd.fem. Each model file contains different sections of the bumper, that when combined make up the whole bumper model. Copy the model file(s) from the hm.zip file to your working directory.
Exercise
Step 1: Open the HyperMesh model file, bumper_cen_mid1.hm.
| 1. | Start HyperMesh Desktop. |
| 2. | To open a HyperMesh model file, click File > Open > Model from the menu bar, or click  on the Standard toolbar. on the Standard toolbar. |
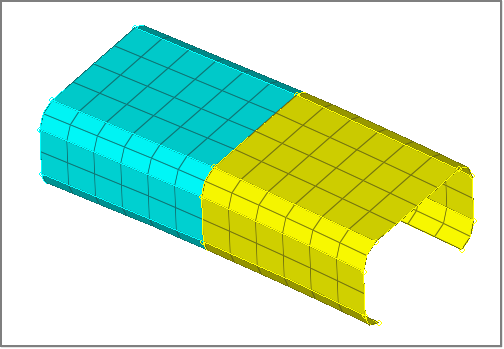
| 2. | In the Open File dialog, open the bumper_cen_mid1.hm model file. HyperMesh loads a model containing mesh and geometry data. |

Step 2: Import the HyperMesh model file, bumper_mid.hm, into the current HyperMesh session.
| 1. | To open the Import tab, click File > Import > Model from the menu bar, or click  on the Standard toolbar. on the Standard toolbar. |
| 2. | In the Import tab, click  . . |
| 3. | In the Open dialog, open the bumper_mid.hm model file. |
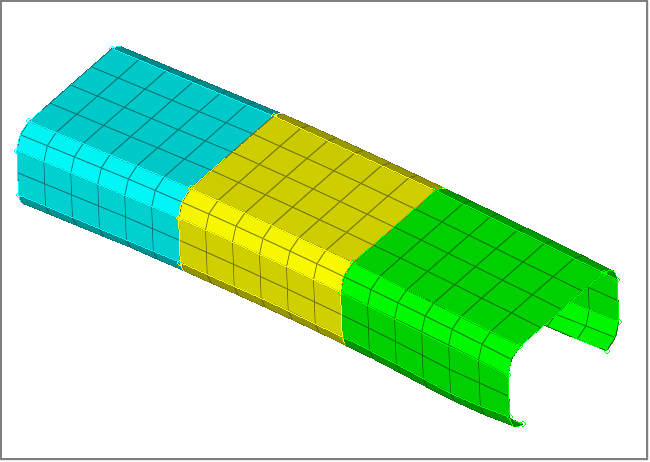
| 4. | Click Import. HyperMesh imports the bumper_mid.hm model file on top of the existing data. |

Step 3: Import the IGES geometry file, bumper_end.iges, into the current HyperMesh session.
| 1. | In the Import tab, click  . . |
| 2. | From the File type list, select IGES. |
| 3. | Click  . . |
| 4. | In the Select IGES file dialog, open the bumper_end.iges geometry file. |
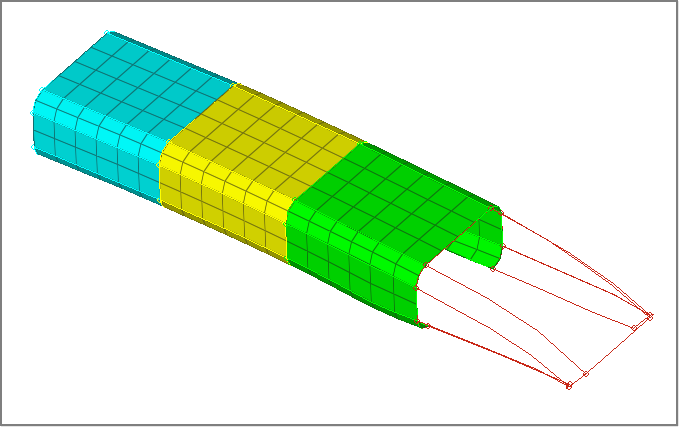
| 5. | Click Import. HyperMesh imports the IGES geometry file's data. |

Step 4: Import the OptiStruct input file, bumper_end_rgd.fem, into the current HyperMesh session.
| 1. | In the Import tab, click  . . |
| 2. | From the File type list, select OptiStruct. |
| 3. | In the File field, open the bumper_end_rgd.fem input file. |
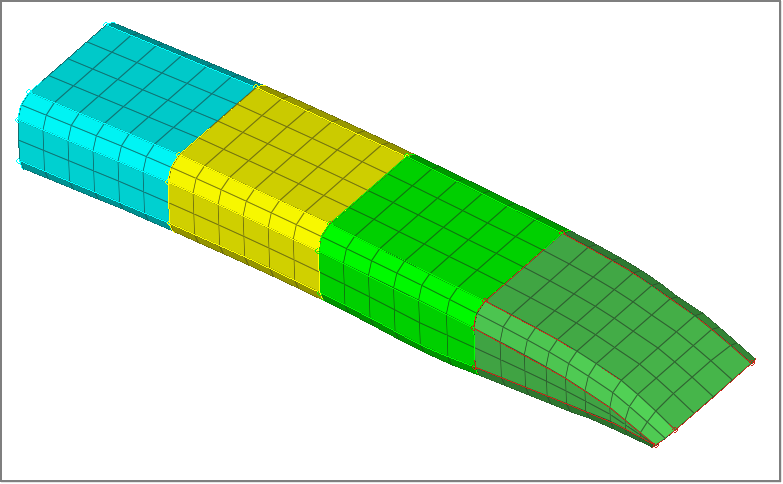
| 4. | Click Import. HyperMesh imports a mesh for the bumper's end portion to the geometry representing the bumper’s end. |

Step 5: Save the HyperMesh session as a HyperMesh model file called practice.hm.
| 1. | From the menu bar, click File > Save As > Model. |
| 2. | In the Save Model As dialog, navigate to your working directory and save the data in your current session as a binary data file labeled practice.hm. |
Step 6: Export the model’s geometry data to an IGES file called practice.iges.
| 1. | To access the Export tab, click File > Export > Geometry from the menu bar, or click  on the Standard toolbar. on the Standard toolbar. |
| 2. | From the File type list, select IGES. |
| 3. | In the File field, navigate to your working directory and save the file as practice.igs. |
| 4. | Click Export. HyperMesh exports all of the geometry data (points, lines, surfaces) loaded in your current session as a .iges file. |
Step 7: Export the model’s mesh data to an OptiStruct input file called practice.fem.
| 1. | In the Export tab, click  . . |
| 2. | From the File type list, select OptiStruct. |
| 3. | In the File field, navigate to your working directory and save the file as practice.fem. |
| 4. | Click Export. HyperMesh exports all of the finite element data (nodes, elements, loads) loaded in your current session as a .fem file. |
Step 8 (Optional): Delete all data from the current HyperMesh session by starting a new session.
| 1. | To open a new HyperMesh model, click File > New > Model from the menu bar, or click  on the Standard toolbar. on the Standard toolbar. |
| 2. | In the HyperMesh dialog, click Yes if you would like to discard all current model data. |
Step 9 (Optional): Import the IGES geometry file you created, practice.igs.
| 1. | To import the practice.igs file into your current session repeat step 3. HyperMesh imports the geometry data in the file to the existing data. |
Step 10 (Optional): Import the Optistruct input file you created, practice.fem, into the current HyperMesh session.
| 1. | To import the practice.fem file into the current session, repeat step 4. HyperMesh imports the data in the file to the existing data. |
With the completion of Steps 8, 9, and 10, your current HyperMesh session should contain all of the geometry and mesh data that existed in the HyperMesh session that you saved to a HyperMesh file in Step 5.
Step 11 (Optional): Save your work.
| 1. | From the menu bar, click File > Save > Model. |
See Also:
HyperMesh Tutorials


