The Tools menu Export option allows you to access the following sub-menu options and dialogs:
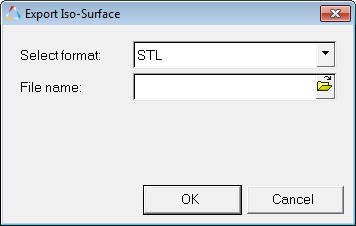
The Export Iso Surface feature allows you to export the iso surface volume created from solid elements in the STL format. This file can be read into HyperMesh or a CAD tool for design review. From the Tools menu, select Export > Iso Surface to display the dialog.

Export Iso-Surface dialog
To export an iso surface from HyperView:
| 1. | From the Tools menu, select Export > Iso Surface. The Export Iso Surface dialog is displayed. |
| 2. | From the Select format drop-down menu, select STL. |
| 3. | From the File name file browser, select the directory and name to which you want to save your file. |
| 5. | Click OK to close the dialog. You can now open this file in HyperMesh (or another pre-processor), or a CAD tool for design review. |
|
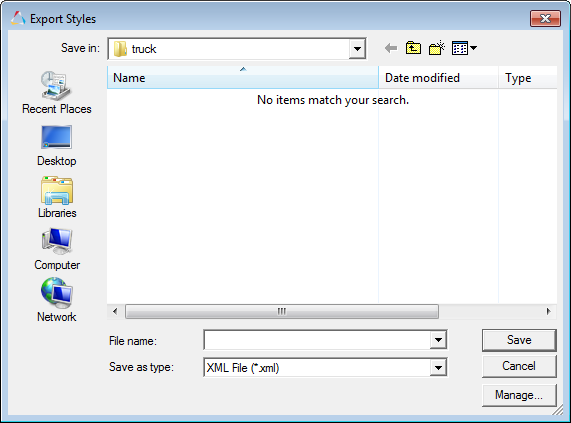
Use the Export Plot Styles option to export your own plot styles and make them your default. The current plot styles will be written out in XML format to a file you define. You can use these styles as your own default by changing the DefaultPlotStyles line in your preference file. Set the path and file name to your plot styles file. From the Tools menu, select Export > Plot Styles to display the Export Styles dialog.

Export Styles dialog
To export plot styles from HyperView:
| 1. | From the Tools menu, select Export > Plot Styles. The Export Styles dialog is displayed. |
| 2. | From the Save in file browser, select the directory to which you want to save your file. |
| 3. | Enter a file name and click Save. |
Note This file can then be imported using the Import Plot Styles option.
|
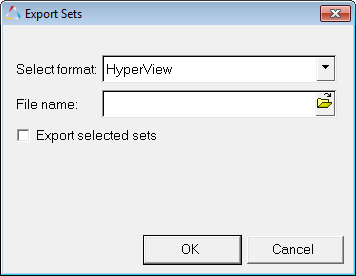
The Export Sets option allows you to export HyperView group definition files or Patran session files. From the Tools menu, select Export > Sets to display the dialog.

Export Sets dialog
To export a Set File:
| 1. | From the Tools menu, select Export > Sets. You are automatically taken to the Set panel, and the Export Sets dialog is displayed. |
Note - You can also access the Export Sets dialog by clicking Export in the Set panel.
| 2. | Select a file type (HyperView group definition file or Patran session file) from the Select format drop-down menu. |
| 3. | Under File name, click the open folder icon and select a destination folder. |
| 4. | Enter a file name and click Save. |
| 5. | Activate the Export selected sets option to export only selected sets in the panel or in the browser (if desired). |
| 6. | Click OK in the Export Sets dialog. |
Note - This file can then be imported by clicking Import in the Set panel.
|
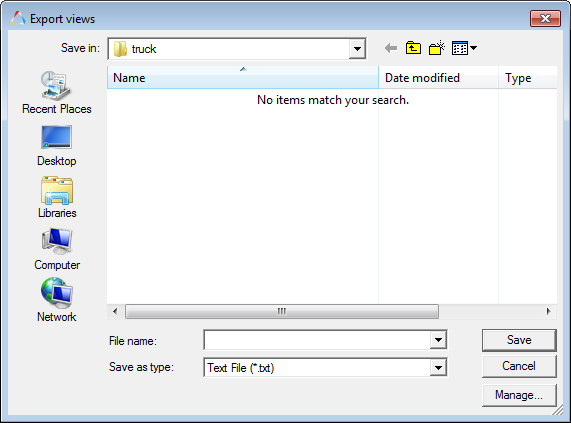
Use the Export Views option to export your current saved views. The views will be written out in .txt format to a file you define. From the Tools menu, select Export > Views to display the Export views dialog.

Export views dialog
To export views from HyperView:
| 1. | From the Tools menu, select Export > Views. |
The Export views dialog is displayed.
| 2. | From the Save in file browser, select the directory to which you want to save your file. |
| 3. | Enter a file name and click Save. |
Note This file can then be imported using the Import Views option.
|


