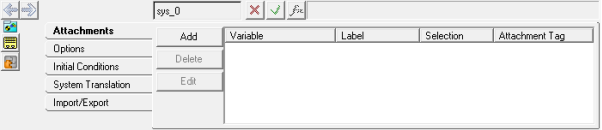
| 1. | From the Project Browser, select the assembly placeholder to which an assembly data/definition file is to be specified. |
| 2. | Right-click on the placeholder and select Select Assembly from the Project Browser context menu. |
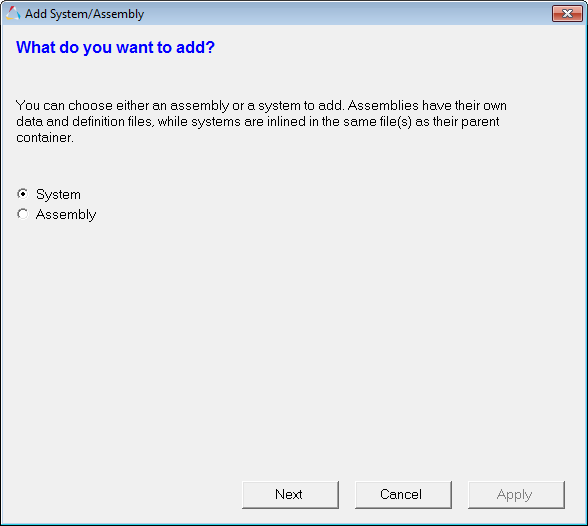
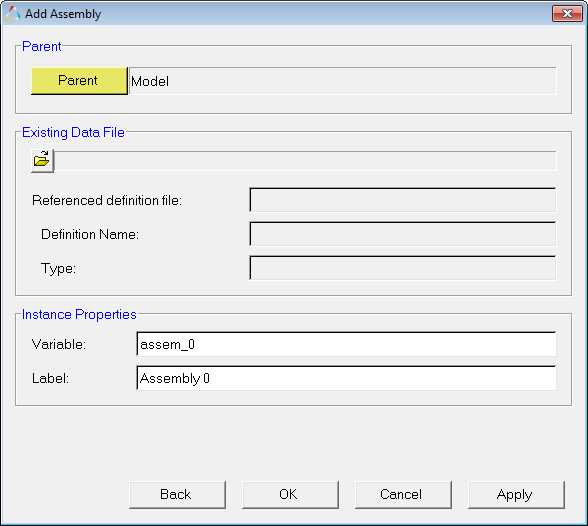
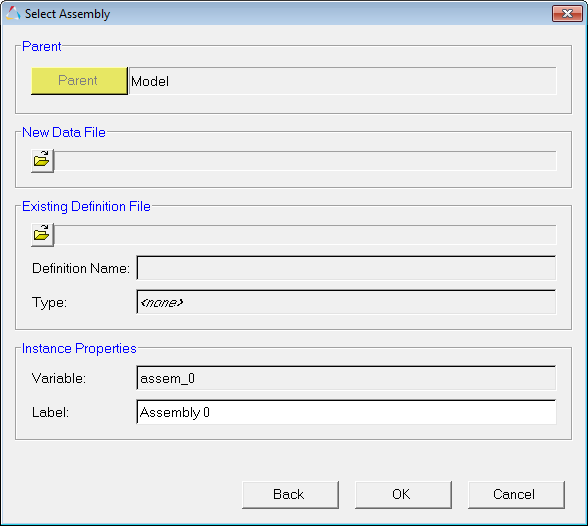
The Select Assembly wizard dialog is displayed
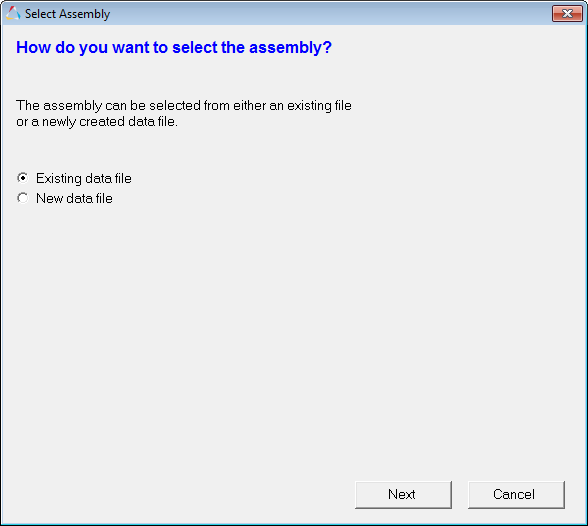
Select Assembly wizard dialog
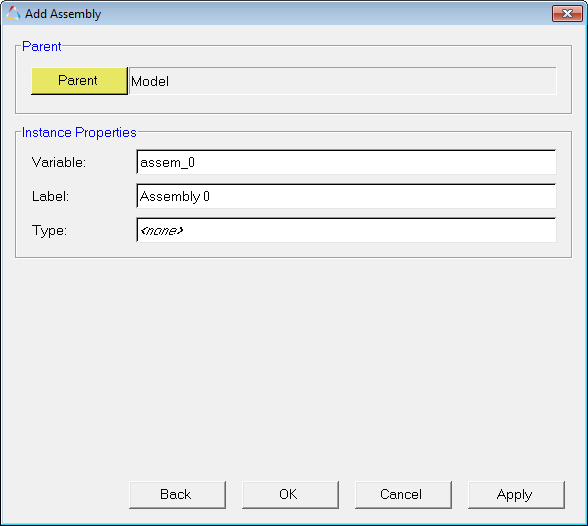
Note This dialog is very similar to the Add Assembly wizard dialog.
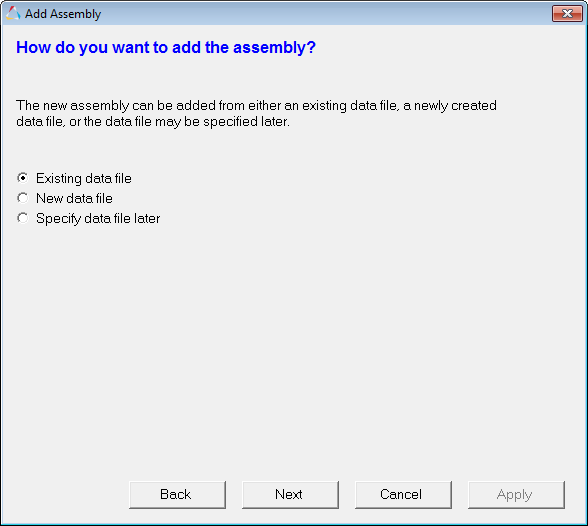
| • | To specify an existing data file: |
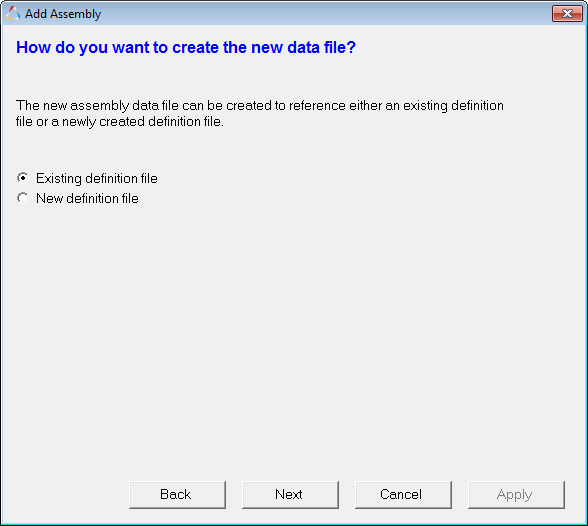
| - | Activate the Existing data file radio button and click Next. |
The next Select Assembly wizard dialog is displayed.
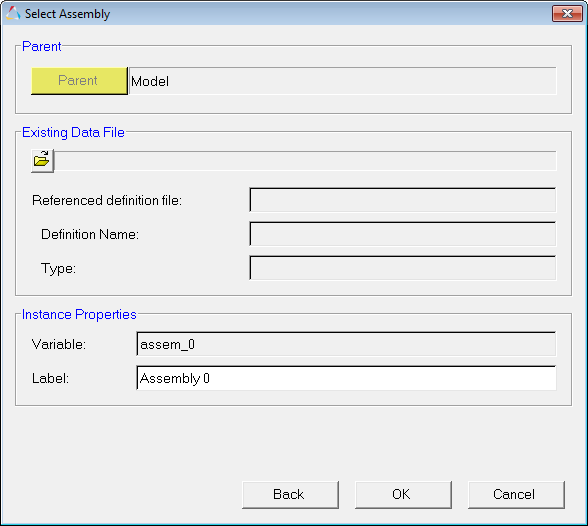
| - | Click the Existing Data File file browser button. |
The Select Data File dialog is displayed.
| - | Browse to an existing data file and click Open. |
The definition file, name, and type referenced by the data file will automatically be displayed in their respective fields.
The Label field will be filled with the label value in the data file automatically. This label value can be changed at any time.
The assembly will be instantiated into the placeholder.
Note If the selection type on the placeholder does not match the type in the definition file, the assembly cannot be selected.
| • | To specify a new data and existing definition file: |
| - | Activate the New data file radio button and click Next. |
The next Select Assembly wizard dialog is displayed.
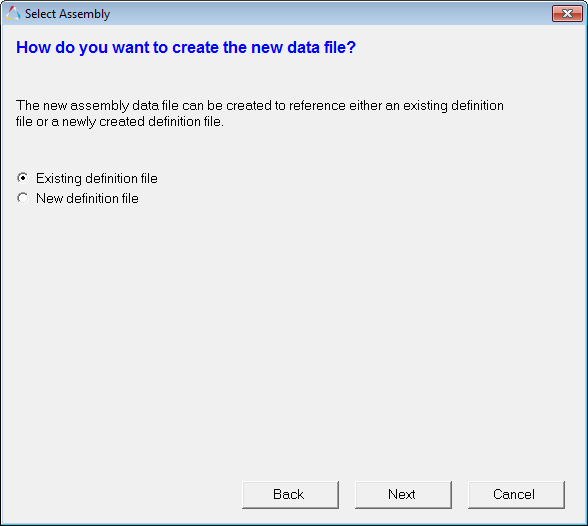
| - | Activate the Existing definition file radio button and click Next. |
The next Select Assembly wizard dialog is displayed.
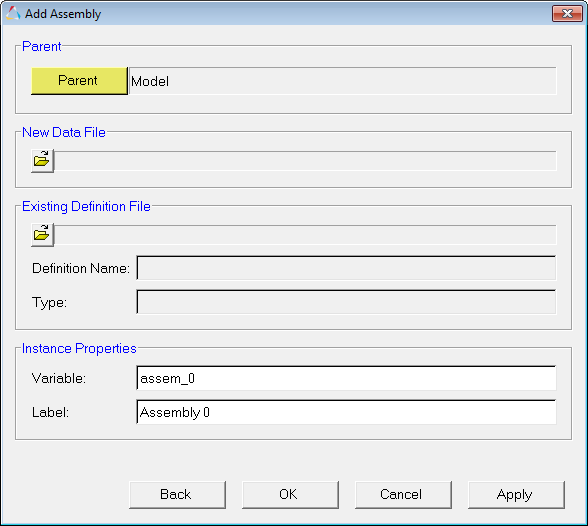
| - | Click the New Data File file browser button. |
The Select Data File dialog is displayed.
| - | Select a path and file name and click Save. |
| - | Click the Existing Definition File file browser button. |
The Select Definition File dialog is displayed.
| - | Browse to an existing definition file and click Open. |
The definition name and type referenced by the data file will automatically be displayed in their respective fields.
The Label field is automatically replaced with the label in the definition file.
Note If the selection type on the placeholder does not match the type in the definition file, the assembly cannot be selected.
| - | Assign a label to the assembly. |
The assembly label can be changed at any time.
The assembly will be instantiated into the placeholder.
| • | To specify a new data and new definition file: |
| - | Activate the New data file radio button and click Next. |
The next Select Assembly wizard dialog is displayed.
| - | Activate the New definition file radio button and click Next. |
The next Select Assembly wizard dialog is displayed.
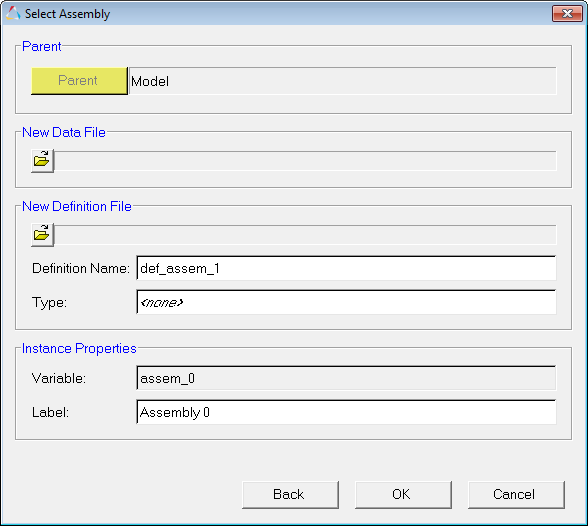
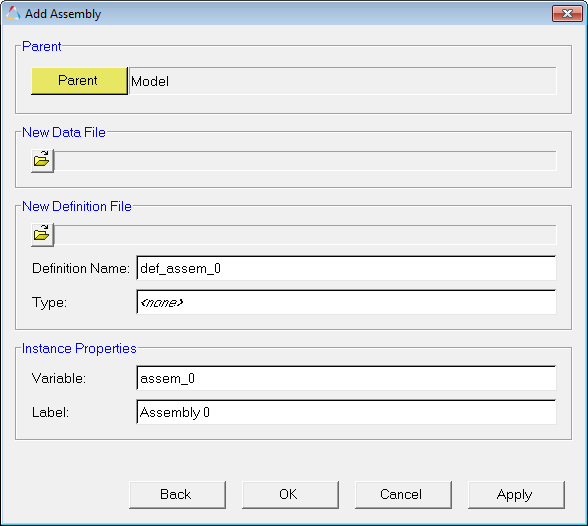
| - | Click the New Data File file browser button. |
The Select Data File dialog is displayed.
| - | Select a path and file name for the new data file and click Save. |
| - | Click the New Definition File file browser button. |
The Select Definition File dialog is displayed.
| - | Select a path and file name for the new definition file and click Save. |
| - | Assign a definition name to the definition file (or accept the default name). |
| - | Assign a type for the definition file (if necessary). |
| - | Assign a label to the assembly. |
The assembly label can be changed at any time.
The assembly (empty) will be instantiated into the placeholder.
| Note | The data and definition files can be respecified using the Reselect Assembly context menu option available in the Project Browser. This context menu also has an option to deselect an existing assembly to a placeholder. |
|